
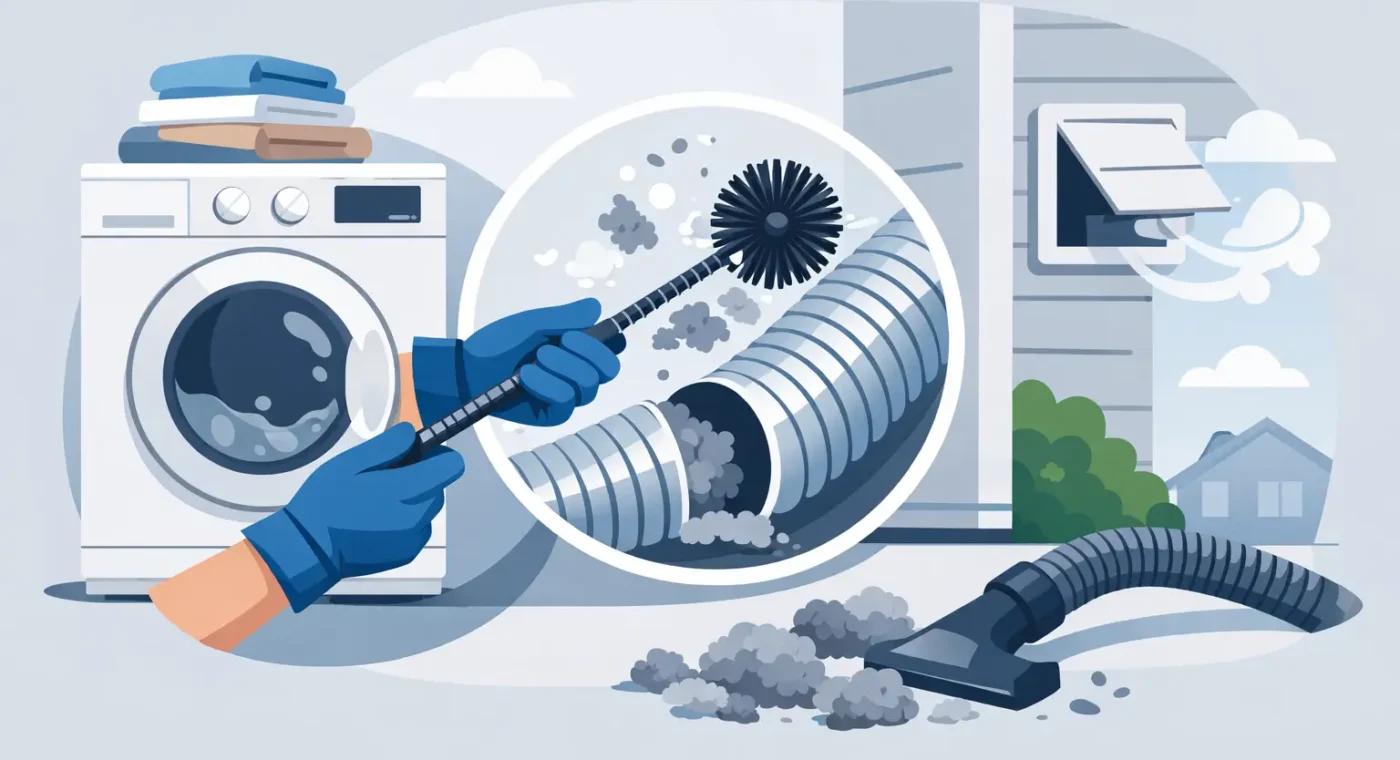
A dryer that suddenly takes two or three cycles to finish a load is not just frustrating. It is often your first warning that the vent line is packed with lint. If you are wondering how to clean dryer duct properly, the goal is not just better performance. It is safer operation, lower energy use, and less wear on the appliance.
Dryer duct cleaning is one of those jobs many people put off because the duct is out of sight. The problem is that lint does not stay neatly inside the lint screen. Fine particles move past the filter, collect inside the vent line, and gradually restrict airflow. Once that happens, heat and moisture have nowhere to go. That can lead to long dry times, overheating, musty smells, and in some cases, a serious fire hazard.
Why cleaning the dryer duct matters
A dryer is designed to move hot, damp air out of the machine and outside the building. When the duct is clear, that process is fast and controlled. When lint builds up, airflow drops. The dryer then works harder, the heating cycle runs longer, and internal components deal with more strain than they should.
For homeowners, that often shows up as hot laundry rooms, damp clothes after a full cycle, or a dryer cabinet that feels unusually warm. For landlords and property managers, it can mean higher maintenance costs and more frequent tenant complaints. In commercial settings, restricted dryer ventilation can interrupt operations and create unnecessary safety exposure.
The trade-off is simple. Regular cleaning takes a little time, but ignoring the duct can cost far more in energy, repairs, and risk.
Signs your dryer duct needs attention
Some systems need cleaning more often than others. A short, straight duct may stay clear longer than a long run with multiple bends. Larger households also create more lint because the dryer runs more often.
You likely need to clean the duct if clothes take longer than normal to dry, the outside vent flap barely opens, there is a burning smell during operation, or lint is visible around the dryer connection. Excess humidity in the laundry area is another clue. If the vent line has not been cleaned in a year or more, that alone is a good reason to inspect it.
How to clean dryer duct step by step
If the setup is accessible and the duct is not damaged, this can be a manageable maintenance task. The key is to work carefully and avoid crushing or loosening the vent line during the process.
Start with safety first
Before doing anything, unplug the dryer. If you have a gas dryer, turn off the gas supply valve as well. Pull the unit away from the wall slowly so you do not kink the duct or strain the gas line. If the appliance is heavy or installed in a tight space, do not force it. That is one of the points where professional help can save time and prevent damage.
Disconnect the vent from the dryer
Most dryer ducts are secured with a clamp. Loosen the clamp and carefully separate the duct from the back of the dryer. Have a vacuum ready because loose lint often falls out as soon as the connection comes off.
At this stage, inspect the duct material. Rigid or semi-rigid metal ducting is generally the best option because it supports better airflow and holds up well over time. If you find thin foil or plastic-style ducting, it may be worth replacing rather than simply cleaning. Cleaning helps, but poor duct material can still create performance and safety problems.
Remove lint from the dryer outlet and duct opening
Use a vacuum hose or dryer vent brush to clean the opening at the back of the dryer. Go gently. You want to remove buildup without pushing lint deeper into the machine. Then clean the exposed end of the duct itself.
If you have a brush kit, feed it through the vent line in the direction of the airflow and rotate it as needed. If the run is short, you may be able to clear most of the lint from one side. If it is longer, you may need access from both the dryer side and the exterior vent hood.
Clean the outside vent hood
Go outside and locate the dryer vent termination. Remove any visible lint from the vent hood and make sure the flap opens freely. A blocked exterior hood can cause the same symptoms as a clogged duct. Birds, leaves, and debris can all interfere with proper exhaust.
This part is easy to overlook, but it matters. You can clean the inside duct thoroughly and still have poor airflow if the outside vent is jammed or partially blocked.
Vacuum and reassemble
After brushing the duct, vacuum up loosened lint from both ends. Reconnect the vent securely and make sure the duct is not crushed when you move the dryer back into place. Even a partial pinch behind the appliance can reduce airflow enough to undo the work you just did.
Plug the dryer back in, restore the gas supply if needed, and run a short test cycle. Step outside and confirm that warm air is flowing strongly through the vent.
How often should you clean a dryer duct?
For many homes, once a year is a practical baseline. If you do several loads each week, have pets, or notice heavy lint buildup, you may need more frequent service. Rental properties and shared laundry rooms often benefit from scheduled maintenance because usage is harder to control.
It depends on the layout too. Long vent runs, multiple elbows, and second-story routes tend to collect lint faster and are harder to clean fully with basic tools. Those systems deserve closer attention because restricted airflow has more opportunities to develop.
Common mistakes to avoid when cleaning a dryer duct
One mistake is assuming the lint trap does all the work. It helps, but it does not catch everything. Another is using the wrong duct material and then treating cleaning as a complete fix. If the vent line is poorly installed, too long, or made from material that traps lint easily, problems will return faster.
A third issue is cleaning only the area right behind the dryer. That may remove some buildup, but deeper obstructions often remain inside the run or near the exterior vent. If the dryer still runs hot or takes too long after cleaning, there may be a blockage farther down the line.
And finally, do not ignore damage. Crushed ducting, loose joints, disconnected sections, and improper vent routing are not cosmetic issues. They can reduce performance and allow moisture or lint to end up where it should not.
When to call a professional for dryer duct cleaning
Knowing how to clean dryer duct systems is useful, but some situations call for expert service. If the dryer is in a narrow closet, the duct is unusually long, the vent exits through the roof, or airflow is still weak after cleaning, it makes sense to bring in a trained technician.
Professional service is also the better option if you notice scorching smells, repeated overheating, or signs that the vent line may be damaged inside a wall or ceiling. In commercial properties, routine professional cleaning can help maintain safer operation and reduce downtime.
A qualified company can do more than remove lint. They can inspect the vent design, spot installation issues, identify worn components, and recommend improvements that help the system stay efficient longer. For customers who want fast, reliable help without guesswork, that is often the smarter route.
A few practical ways to keep the duct cleaner longer
Clean the lint screen after every load. Check that the dryer is not being overloaded, since larger loads create more lint and slow drying. Every few months, inspect the outside vent flap to make sure it opens properly. If you are replacing a dryer or renovating a laundry area, choose rigid metal ducting and keep the run as short and straight as possible.
Small changes make a difference. Better airflow means shorter cycles, less stress on the appliance, and fewer surprise service calls.
At EAAIRS Services and Repair Ltd., we see a lot of dryer problems that start with restricted ventilation rather than a failed machine. A clean duct helps your dryer work the way it should and gives you one less hidden problem to worry about.
If your dryer has been running hotter, slower, or louder than usual, take that as a prompt rather than an inconvenience. A little attention now can save you from a bigger repair later.