
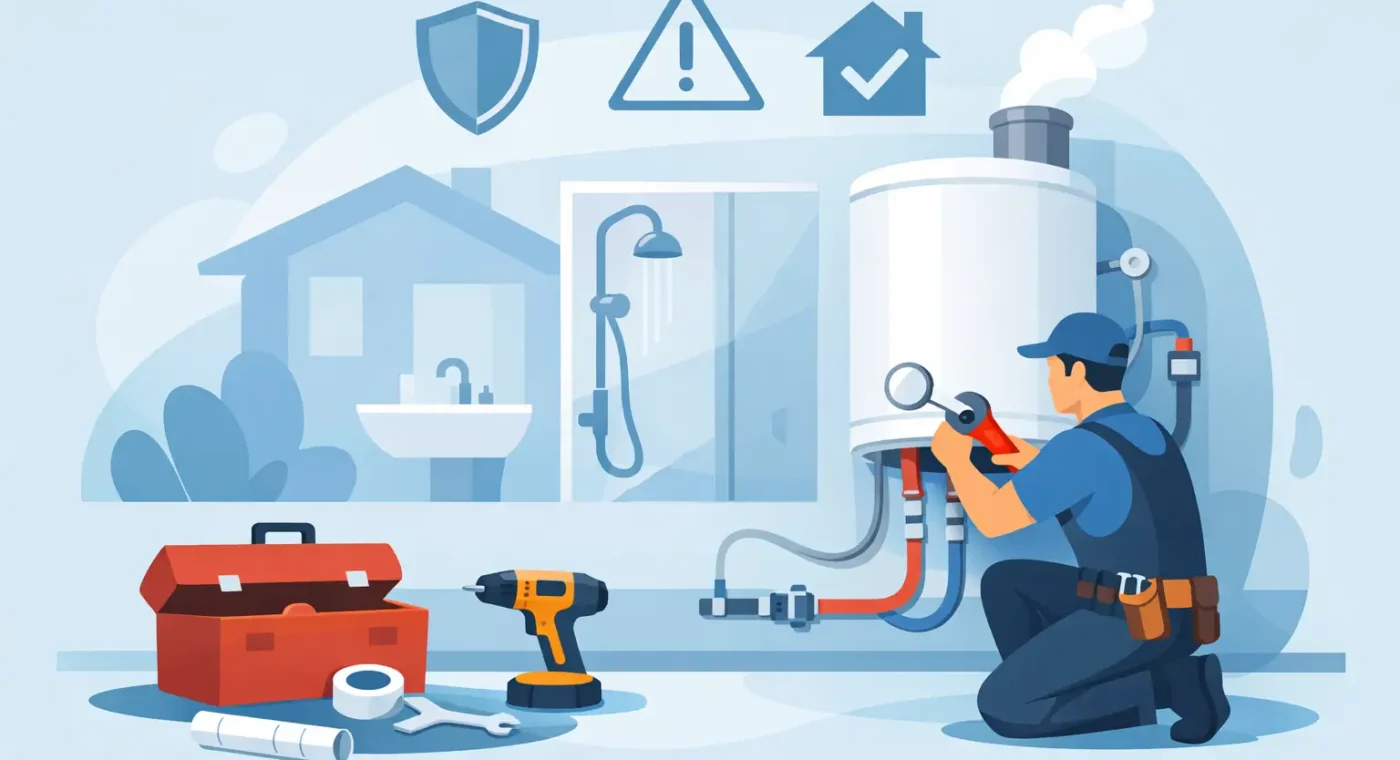
A failed water heater can stop a household morning routine or disrupt an entire business within hours. Knowing how to install water heater equipment properly helps you understand the job, plan for replacement, and recognize when a licensed technician is the safer choice. Water heaters involve pressurized plumbing, fuel or high-voltage electrical connections, venting, drainage, and local code requirements. A missed detail can lead to leaks, carbon monoxide exposure, electrical hazards, or costly property damage.
For many homeowners, a professional installation is the most reliable route. For property managers and commercial operators, it is often essential. Still, understanding the process makes it easier to choose the right unit, prepare the space, and ask the right questions before work begins.
Start With the Right Water Heater
Installation begins before the old unit is disconnected. The replacement water heater must match the building’s needs, available utility connections, and installation location. Choosing a unit based only on tank size or purchase price can create problems later.
A standard tank water heater stores a set volume of hot water, commonly 40 to 80 gallons in homes. Tankless models heat water on demand and can save space, but they may require larger gas lines, upgraded electrical capacity, or specialized venting. Heat pump water heaters can be highly efficient, although they need adequate surrounding air space and may not suit every utility room, garage, or commercial setting.
Fuel type matters just as much. An electric water heater requires the correct dedicated circuit, wire size, disconnecting means where required, and voltage. Gas models require a properly sized gas supply, safe venting, combustion air, and a tested gas connection. Replacing a gas unit with another gas unit is not automatically a simple swap, especially if current codes require updates to venting, drain pans, expansion tanks, or seismic restraints.
Before selecting equipment, confirm the unit’s physical dimensions, recovery rate, energy rating, connection locations, and local permit requirements. A water heater that fits through the doorway may still not fit safely into its final location with the clearance needed for service and ventilation.
How to Install Water Heater Equipment: The Safe Process
The exact process depends on whether the unit is electric, gas, tankless, or commercial. However, a professional installation follows a careful sequence designed to protect the property and ensure reliable hot water.
1. Inspect the installation area
The technician first checks the floor, drainage, access, existing plumbing, electrical or gas connections, venting, and clearances. Water heaters installed in finished spaces, upper floors, closets, garages, or commercial utility rooms may need additional safeguards.
A drain pan with a correctly routed discharge line can prevent extensive water damage if the tank leaks. In areas subject to earthquakes, strapping may be required. Gas units must have appropriate clearance from combustible materials and a safe path for flue gases to exit the building.
2. Shut down and drain the old unit
The water supply is turned off before the existing heater is drained. For electric models, power must be shut off at the breaker and verified before any electrical work begins. For gas models, the gas supply is shut off and the connection is handled carefully.
Draining an older tank can be slow because sediment often collects at the bottom. This is also the point where hidden concerns may appear, such as corroded shutoff valves, weakened supply lines, improper venting, or deteriorated electrical connections. Addressing those issues during installation is usually less disruptive than waiting for a failure.
3. Remove the old water heater and position the new one
Water heaters are heavy, awkward, and can hold residual water even after draining. Safe removal often requires more than one person and the right moving equipment. Improper handling can damage flooring, walls, nearby appliances, or the new unit itself.
The replacement is positioned level on a stable surface. If a pan is required, it is placed first and connected to an appropriate drain route. The technician also verifies that service panels, temperature controls, shutoff valves, and drain valves will remain accessible after installation.
4. Connect plumbing components correctly
Cold-water supply and hot-water outlet lines are connected using approved materials and fittings. The installation should include a working shutoff valve on the cold-water side. Depending on the plumbing system and local code, an expansion tank may also be needed to manage pressure changes in a closed water system.
The temperature and pressure relief valve is one of the most important safety components on a tank water heater. Its discharge pipe must be installed properly and terminate in a safe, visible location. It should never be capped, plugged, reduced in size, or routed in a way that creates a burn or pressure hazard.
5. Complete gas or electrical connections
This is where DIY work can become especially risky. Electric water heaters must be wired according to the manufacturer’s specifications and local electrical code. Incorrect voltage, loose wiring, missing grounding, or an undersized circuit can damage the unit or create a fire risk.
Gas water heaters require a properly sized and sealed gas connection. The gas line must be tested for leaks using an approved method. Venting must be compatible with the appliance and installed with the correct slope, support, termination, and clearances. A poorly vented gas heater can allow dangerous combustion gases, including carbon monoxide, into the building.
Tankless units add another layer of planning. Their gas demand or electrical load can be significantly higher than a conventional tank unit. Installing one may require a utility upgrade rather than a direct replacement.
6. Fill, test, and set the system
A tank water heater must be completely filled before power is turned on. Energizing electric elements in an empty or partially filled tank can burn them out quickly. Once filled, the system is checked for leaks at all water connections.
For gas equipment, the burner operation, ignition, vent draft, and gas connections are tested. For electric equipment, voltage and operation are verified. The thermostat is typically set around 120 degrees Fahrenheit for household use, though the appropriate setting can depend on building needs, health considerations, and local requirements. Higher temperatures increase scalding risk and energy use.
A final professional check includes confirming that hot water reaches fixtures, safety devices are in place, and the customer understands basic operation and maintenance.
Permits, Codes, and Why They Matter
A water heater replacement may require a permit and inspection depending on your city, county, equipment type, and scope of work. This is not unnecessary paperwork. Permits help verify that critical safety details, such as venting, relief valve piping, electrical protection, and combustion air, meet current standards.
Code requirements can also change over time. A unit installed 15 years ago may not meet today’s requirements, even if it appeared to work without issues. When replacing equipment, older homes and commercial buildings sometimes need updates to meet present-day safety rules.
For landlords and property managers, documented professional installation can be especially valuable. It supports maintenance records, helps reduce liability concerns, and gives tenants confidence that essential equipment was installed correctly. Commercial operators should also consider downtime, hot-water demand, health regulations, and coordination with other building systems before scheduling replacement.
When DIY Is Not Worth the Risk
Simple home maintenance, such as checking for visible leaks or flushing a tank when appropriate, can be manageable for some owners. Full installation is different. Call a qualified technician if the work involves gas piping, vent modifications, a new electrical circuit, panel capacity concerns, relocation, a tankless conversion, or a commercial water heater.
Professional service is also the smart choice when the old unit has caused water damage, the pressure relief valve has discharged repeatedly, the water smells like gas, or there are signs of scorching around electrical connections. If you smell gas, leave the area, avoid switches and open flames, and contact the gas utility or emergency services from a safe location.
EAAIRS Services and Repair Ltd. helps homeowners, property managers, and businesses replace and install water heaters with careful attention to safety, code requirements, and dependable operation. A clear estimate and a proper assessment before installation can prevent surprises and help you choose a solution that fits the property rather than forcing the property to fit the equipment.
Protect Your New Water Heater After Installation
A new water heater should not be forgotten once hot water is restored. Check the area periodically for moisture, corrosion, unusual noises, or changes in water temperature. Keep the space around the unit clear, and do not block access panels, combustion air openings, or drain connections.
Routine maintenance can extend service life, but the right schedule depends on water quality, equipment type, and usage. Homes with hard water may need more frequent attention because sediment can reduce efficiency and strain components. For commercial properties, planned maintenance is often the best way to avoid an unexpected shutdown during operating hours.
The best installation is one that delivers safe, consistent hot water without creating a new problem behind the wall, inside the panel, or at the gas connection. When the job calls for licensed expertise, choosing a fast, professional service team protects your comfort, your property, and your peace of mind.