
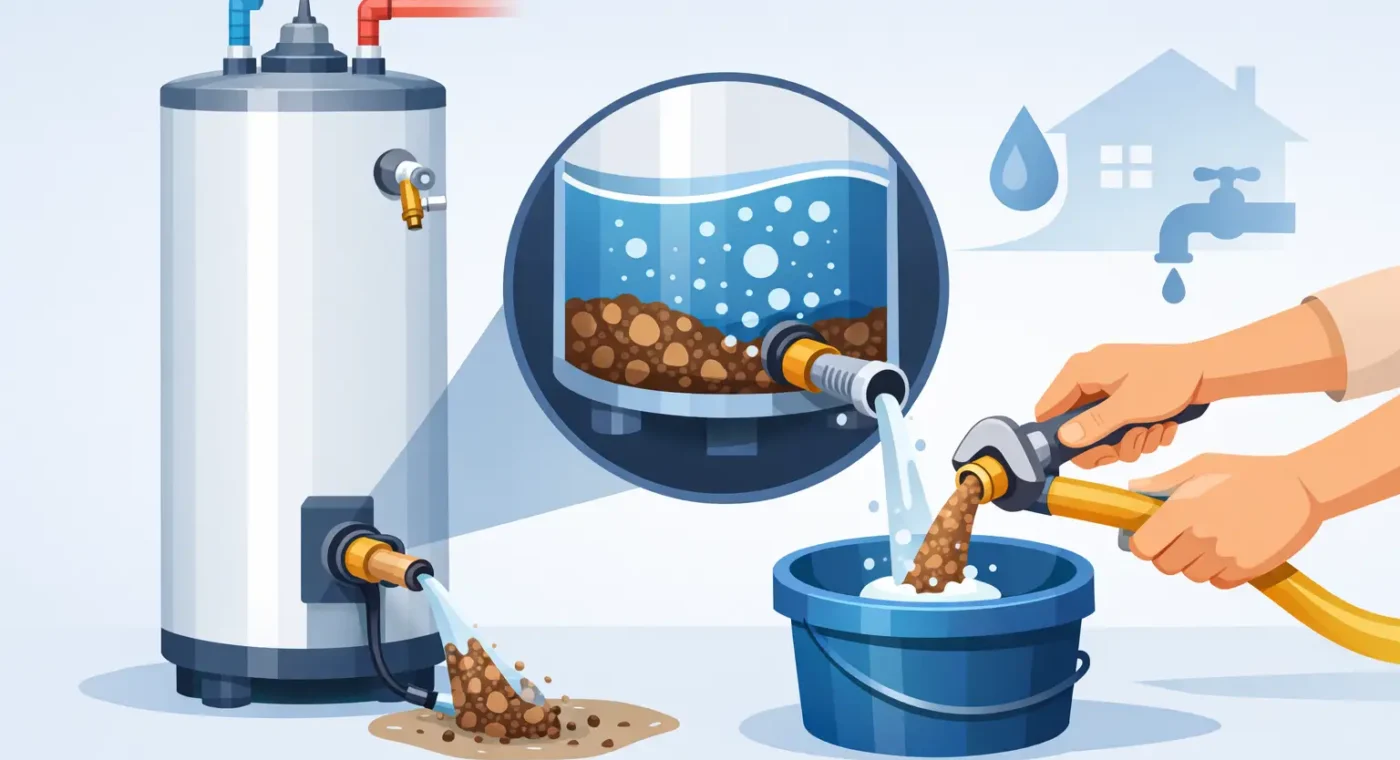
A water heater can keep producing hot water while sediment quietly builds at the bottom of the tank. That buildup can raise energy use, reduce available hot water, cause popping noises, and shorten the life of the unit. Knowing how to flush water heater sediment correctly helps protect a major home system, but the job involves hot water, pressure, electricity or gas, and the risk of leaks. When in doubt, stopping and calling a qualified technician is the safer choice.
Why flushing a water heater matters
Most storage-tank water heaters collect minerals from the incoming water supply. In areas with hard water, calcium and other deposits settle more quickly. Over time, that layer acts like insulation between the burner or heating elements and the water inside the tank.
The result is a heater that must work harder to do the same job. You may notice rumbling or crackling sounds during a heating cycle, cloudy water at a hot-water tap, uneven temperatures, or hot water that runs out sooner than it used to. Sediment can also clog the drain valve, contribute to corrosion, and put extra strain on components.
For many homes, flushing a conventional tank water heater about once a year is a practical maintenance schedule. A home with very hard water may benefit from more frequent service. However, an older heater that has never been maintained needs extra care. Moving long-settled sediment can sometimes expose an existing weak point, such as a failing drain valve or a corroded tank. That does not mean maintenance caused the problem, but it can reveal a repair that was already close at hand.
Before you flush your water heater
First, confirm that you have a standard tank-style water heater. Tankless water heaters require a different descaling process, typically using a pump and a manufacturer-approved cleaning solution. Do not use the tank-flushing steps below for a tankless unit.
You will need a standard garden hose, a bucket if you cannot safely run water to a drain, gloves, and a flathead screwdriver if your drain valve has a screw-style handle. Choose a drain location that can handle hot water, such as a floor drain, utility sink, driveway, or outdoor area where discharge will not damage plants or property. Never drain hot water where children, pets, or other people could be exposed.
Look over the water heater before beginning. If there is visible corrosion around the tank, water on the floor, a damaged temperature-pressure relief valve, a gas smell, or an electrical concern, do not proceed. A flush will not repair a compromised tank, and a leaking tank often requires replacement rather than repair.
How to flush water heater sediment step by step
1. Turn off the energy source
For an electric water heater, switch off the dedicated breaker at the electrical panel. This step matters because heating elements can burn out if power remains on while the tank is empty or partially drained.
For a gas water heater, turn the gas control to the pilot setting or off, following the instructions printed on the unit. If you smell gas at any point, stop immediately, leave the area, and contact a qualified professional or your gas utility. Do not attempt maintenance around a suspected gas leak.
2. Let the water cool
Turn off the cold-water supply valve at the top of the heater, then open a hot-water faucet at a nearby sink or tub. This relieves pressure and allows air into the system. Let the tank cool before draining whenever possible. Water stored in a heater can be hot enough to cause serious burns.
If you need to restore service quickly and must work sooner, use extreme caution. Wear gloves, keep the hose securely attached, and avoid standing directly in front of the drain valve or hose outlet.
3. Connect the hose and begin draining
Attach a garden hose firmly to the drain valve near the bottom of the tank. Run the other end to your approved drain location. Make sure the hose is not kinked and will stay in place once water starts flowing.
Open the drain valve slowly. Water should begin to flow through the hose. At first, it may look clear, rusty, or cloudy with mineral particles. If the flow is slow, confirm that the hot-water faucet remains open and that the hose is not blocked.
A full drain is not always necessary for routine maintenance. Many homeowners flush several gallons, then check the discharge. Continue until the water appears mostly clear and no longer carries visible sediment. On a neglected tank, the flow may be gritty for longer, and the valve can clog with debris.
4. Clear a slow or blocked drain carefully
If water barely flows or stops, close the drain valve and remove the hose only after confirming the water has cooled. Sediment may be blocking the valve. Do not force sharp objects into a plastic drain valve, as it can crack and create a leak.
Sometimes briefly turning the cold-water supply back on with the drain valve open will stir sediment and help restore flow. Use only a gentle flow, and watch the hose outlet closely. If the valve remains blocked, leaks, or will not close reliably, professional service is the right next step. Replacing a drain valve on an aging tank can be more involved than it looks.
5. Refill the tank completely
Once the discharge runs clear enough, close the drain valve securely. Remove the hose and turn the cold-water supply back on. Keep the hot-water faucet open until water runs steadily without sputtering. That indicates the tank has refilled and most trapped air has been released.
Check the drain valve, the cold-water connection, and the floor around the heater for leaks. A few minutes of observation now can prevent water damage later. If the valve drips after being closed, do not ignore it. A cap may provide temporary protection, but the valve should be assessed and repaired properly.
6. Restore power or gas only after the tank is full
For an electric unit, confirm water is flowing normally at the open hot-water faucet before turning the breaker back on. Then restore power. For a gas unit, return the control to its normal operating setting according to the manufacturer’s lighting instructions.
It can take 30 minutes to over an hour for hot water to return, depending on tank size, fuel type, incoming water temperature, and thermostat setting. Avoid setting the thermostat excessively high to speed things up. Higher temperatures increase scald risk and energy use.
When a water heater flush is not a DIY job
A straightforward flush can be manageable on a well-maintained, accessible water heater. It is not the right project for every property. Property managers and commercial operators should also consider the disruption caused by taking a unit offline, especially where a water heater supports tenants, staff, customers, or kitchen operations.
Schedule professional service if your heater is leaking, more than 10 years old, severely noisy, producing rusty hot water, or repeatedly losing hot-water capacity. You should also call for help if the temperature-pressure relief valve is leaking, the drain valve is seized, or the heater is located in a tight space where a hose cannot be routed safely.
For gas units, an unreliable pilot, burner problems, soot, or unusual odors require qualified diagnosis. For electric units, tripped breakers, inconsistent heating, or suspected element failure should be handled by a licensed technician. Flushing removes sediment, but it does not fix a damaged dip tube, failed thermostat, bad heating element, corroded anode rod, or a tank nearing the end of its service life.
Keep sediment from becoming an emergency
Annual maintenance is less expensive and less disruptive than waiting for a cold shower, a flooded utility room, or a complete system failure. Along with flushing, a technician can inspect the anode rod, test safety components, examine connections, and identify warning signs before they become urgent repairs.
EAAIRS Services and Repair Ltd. can help homeowners, landlords, and commercial property operators assess water heater performance, complete maintenance safely, and recommend a clear repair or replacement path when needed. The goal is simple: reliable hot water, straightforward pricing, and less interruption to your home or business.
If your water heater is noisy, slow to recover, or showing any sign of a leak, do not wait for the problem to become a shutdown. A timely inspection can protect your comfort, your property, and your budget.